What the White Powder Is Really Telling You: Salt, Moisture and Old Walls
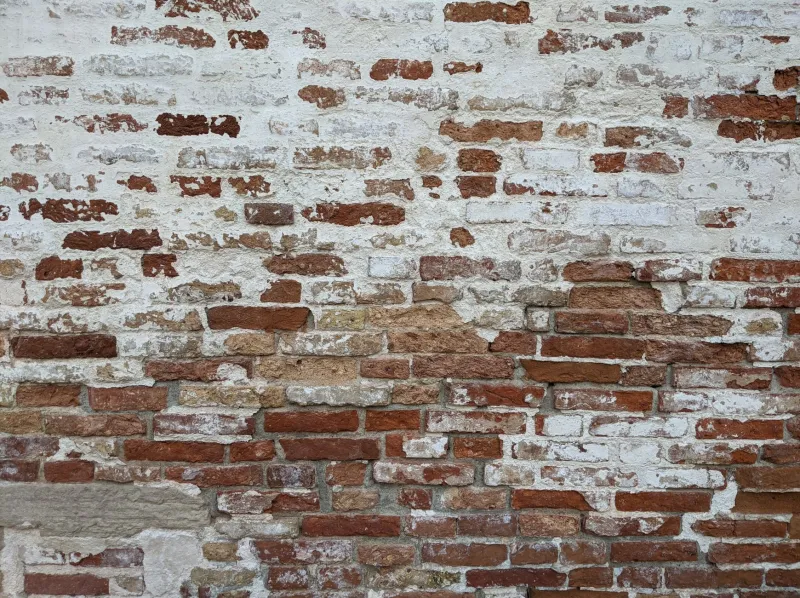
You strip the wallpaper, the wall looks tired but sound, and you get on with other things. A fortnight later there's a white fuzz along the skirting and a dark shadow climbing the chimney breast. It looks like a new problem. In most old houses it isn't — it's an old conversation between water, salts and plaster that you've just made visible.
Salt damage is one of the most misread things in period property work, partly because it's slow, partly because it's easy to sell a remedy for. The sensible response is boring: work out what the salts are, work out where the water is coming from, and only then decide whether you're brushing, poulticing, re-plastering or simply living with a wall that will always be a bit grubby at the bottom.
Bloom on the surface, damage underneath
Efflorescence is the visible version. Salts dissolved in water travel through the plaster and crystallise at the face as a white, sometimes fluffy deposit. Brush it off and it comes back. Annoying, but on its own it's a cosmetic symptom — the wall is drying outwards, which is what you want.
Cryptoflorescence is the same process happening just under the surface. The crystals form inside the pores of the plaster and push outwards. You get powdering, blistering, a hollow ring when you tap, and eventually the finish flakes away from the backing. By the time you can see it, the damage is already done.
Black staining is a different character altogether. It can be mould feeding on damp and wallpaper paste, soot drawn through from an old flue, or a concentration of hygroscopic salts — the kind that pull moisture out of the air and keep a patch permanently dark even when the wall isn't wet from anything else. A chimney breast that goes black in winter and fades in summer is telling you something quite specific.
Where the salts actually come from
Ground salts drawn up through brick and mortar are the classic story, but they aren't the only one. Sea spray along the coast, de-icing salt splashed up a plinth, fertiliser and animal waste in old floors and outbuildings, soot sulphates in flues, and even cement or gypsum introduced during a previous repair can all leave salts in the fabric.
That last point matters. If someone has patched a lime wall with gypsum and painted it with vinyl silk, the salts now have nowhere to go but into the patch. A wall can look innocent and still be loaded with the wrong materials.
The sealing mistake
Every few months someone asks whether they can just tank it, seal it, or paint over it with something rubbery. The short answer is no — not until you understand the moisture. A breathable wall works by letting water vapour pass through and out. Seal the face and you've turned a slow drying process into a pressure vessel. The salts will crystallise behind the seal instead, and the plaster will blow in a way that's far more expensive to fix than the original bloom.
Cement render on old solid walls causes the same problem from the outside in, which is why so many salt-damaged walls turn out to have a hard, cracked render on the weather side.
Diagnosing before dosing
A cheap moisture meter is a useful pointer and a terrible judge. Many of them work on electrical conductivity, which means a wall full of salts will read as damp even when it's dry. Use one to compare areas, not to reach a verdict.
Better evidence comes from looking at the building as a whole. Are the gutters clear? Is the downpipe leaking behind the render? Has the ground been built up above the damp course? Is the plinth painted with something impermeable? Salt test kits can identify chlorides, nitrates and sulphates, which helps distinguish rising ground salts from flue salts or contamination.
Time is the other diagnostic tool. Watch the wall across a wet winter and a dry summer. A patch that shrinks in July and spreads in January is behaving like hygroscopic salt or condensation. One that never changes is more likely to be a persistent water source you haven't found yet.
Brushing, poulticing, re-plastering
Dry brushing is fine for light efflorescence, done in dry weather and repeated as needed. Don't wet it down — you'll just dissolve the salts back into the plaster.
Poulticing is the next step. A clay, paper-pulp or similar absorbent paste is applied to the affected area, left to draw salts to the surface as it dries, then removed. It's slow and needs repeating, but it can pull a surprising amount out of a wall without destroying it.
Re-plastering is the last resort, not the first. Do it when the plaster is genuinely failing, when salts are so concentrated that poulticing won't keep up, or when a previous repair has to come off anyway. Even then, the new work should be lime-based and moderately weak, with a sacrificial backing coat that can give up its surface to the salts rather than the finished face. And it only works if the water source has been dealt with. Re-plastering over an active leak is an expensive way to delay the inevitable.
Living with an imperfect wall
Some walls, particularly in coastal or heavily exposed spots, will always carry a little salt. The realistic aim is a wall that dries, holds its plaster and doesn't get worse — not a wall that looks like new. Breathable finishes, decent ventilation and a willingness to leave a slightly mottled patch alone will get you further than another coat of sealer.
If in doubt, slow down. Read the wall through a full year, fix the obvious water first, and treat white bloom as information rather than an emergency.